
Let's have a basic look at Pit's special moves. I'm using the Wiimote + Nunchuk scheme to describe his moves here.
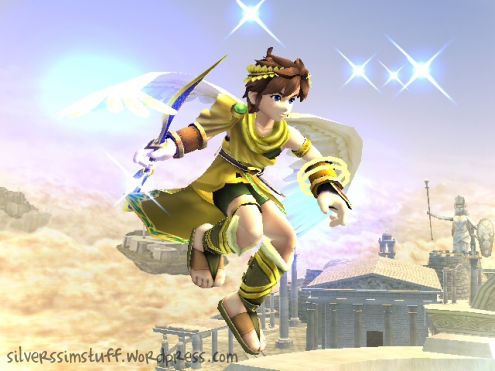
Standard Special - Palutena's Arrows
These are Pit's ethereal arrows and in my opinion are the best projectiles in SSB:Brawl due to their speed and versatility. It is especially useful when fighting against Tabuu.

Tap on the B button to release a quick light arrow. Unlike a lot of other projectiles, Pit's arrows reach to the far ends of the screen. Hold down B for a while before releasing and Pit will charge the arrow up, doing more damage. Charged up arrows can be useful in Sudden Death. You will need to judge when it's best to do a quick and dirty arrow and when a stronger shot is better.
Enemy attacking from above? No problem. Keep the B button held down, then tilt the control stick up. You can now aim directly above you. Or tilt the control stick backwards to make Pit turn around fire in the opposite direction.
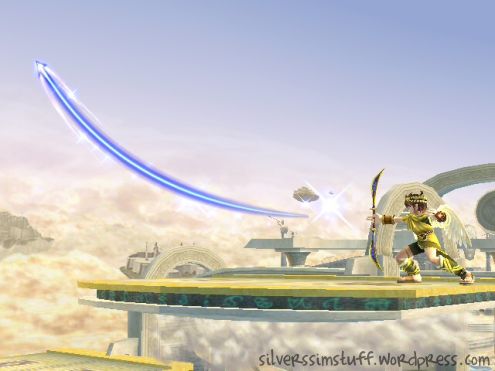
But wait! There's more to it. After releasing the arrow you can control its trajectory. Tilt the control stick up or down at any point in its path and the arrow will follow. (You can also tilt left or right if shooting up.) Be quick, those arrows are fast! Try using this technique to get the final smash ball. Apparently you can even make the arrow turn full circle and hit Pit in the back, though I've not been able to do this myself.
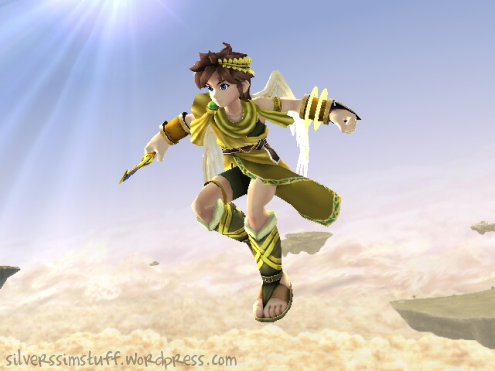
Side Special - Angel Ring
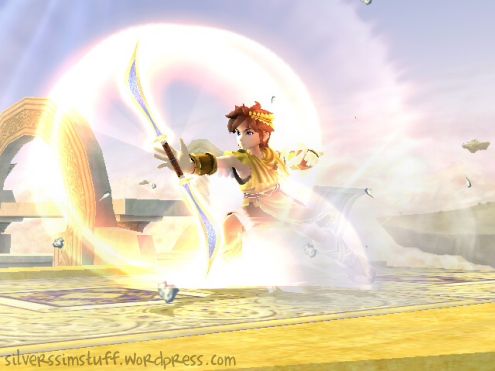
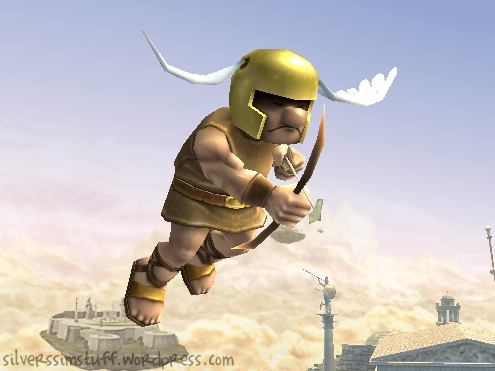
A useful attack or annoying as hell, depending on whether you're on the giving or receiving end! Keep tapping B once the ring has started to keep it going. It keeps enemies locked for a few seconds, giving them a lot of damage. It can also be used mid-air. Do a dash before launching this and Pit will push the enemies forward while attacking.
You may be tempted to overuse this move, but I would advise discretion. There are a couple of disadvantages: it is quite easy for an enemy to forward roll past this and get you from behind. This leads on to the second disadvantage: it takes a while for the move to stop. Not that long, but long enough for an enemy to take advantage. For these reasons, I tend to reserve this for moments of desperation; or when I have more than one enemy directly in front of me; or as an edge guard, which is where it comes into its own. On levels where the stage reaches to the end of the screen (like Green Hill Zone and Bridge of Eldin), blocking an enemy off-screen with this is almost guaranteed to earn you a KO. Just make sure you get back on-screen in time yourself!
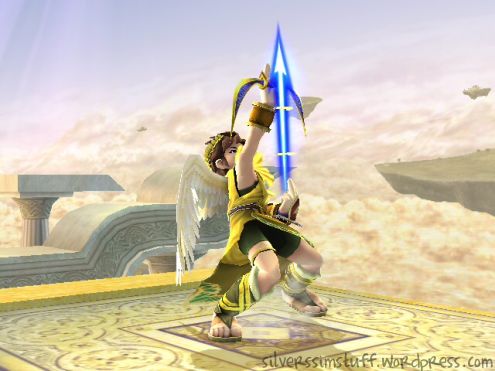
Up Special - Wings of Icarus
I'm sure this should really be called Wings of Pegasus, but never mind.
This is a very strong recovery move. Pit will float around the stage for about 5 seconds, giving you enough time to get back on stage. This move should be your best friend. Pit is a very light character and can only sustain about 150% damage maximum before he'll get flung off (although it depends on who's smashing you. A hefty fighter like Ike or Gannon can knock you off with only about 80%, someone smaller like Lucas might need to reach up to 180%). Together with Pit's glide, you can keep Pit on-screen as long as possible and almost eliminate the chance of suicide by making ample use of this move. Watch out - if you get hit while this move is active, it'll end, so don't waste time and get back above the stage as soon as possible.
Down Special - The Mirror Shield

This is pretty much self-explanatory. Equip the mirror shield when someone is shooting at you and projectiles will bounce back to the enemy and do more damage than they did before. This can also be used to deflect mêlée attacks. It can also be used mid-air.
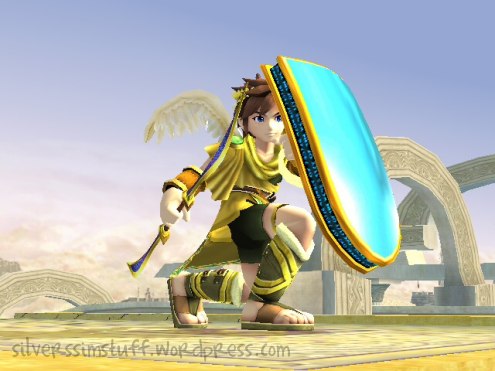
Keep B held down while the mirror shield is equipped and tilt the control stick up to reflect higher attacks, especially mêlée ones. This is a very useful move, but bear in mind that powerful projectiles, while not damaging Pit, will still push him backwards - so be careful when near the edge of a stage!
The mirror shield is a strong defence against Tabuu (the final boss in Subspace Emissary). It's remarkably effective against many of his attacks. Use this as your first defence!
Pit's Jump
Okay, this is not a 'special move', but is still special, hence I'm including it here. Pit's wings are functional in Brawl, and you should make the most of it. Pit can flap his wings up to three times on the second jump, just keep tapping C. You can also direct his jumps in the usual way with the control stick.

If you hold down C on the second jump, Pit will glide. This is useful for recovering from far out on the screen. You can control his glide by gently tilting up and down on the control stick. Don't tilt too far up or the glide will stop. Tilt too far down and Pit will land. Press A just before you land and Pit will do a strong attack, very useful for catching enemies off guard.
Final Smash - Palutena's Army

All troops... MOVE OUT!!!
Pit will call up an image of Palutena and will command his centurions to dive-bomb the screen. Be careful! Pit himself can get hit, although it doesn't happen too often and I don't think it does any damage. Try to knock your enemies off the edge of the stage and let the centurions' dive-bombing stop them from recovering. Alternatively, use the Angel Ring or grab to stop enemies from dodging/sidestepping the attack. Pit's final smash doesn't require hitting an enemy, so you can unleash this straight away.
The higher your enemies' damage, the more likely you can score multiple KOs with this.