I think that's what it's called. So here we go, and I finally got to do my red and black theme!
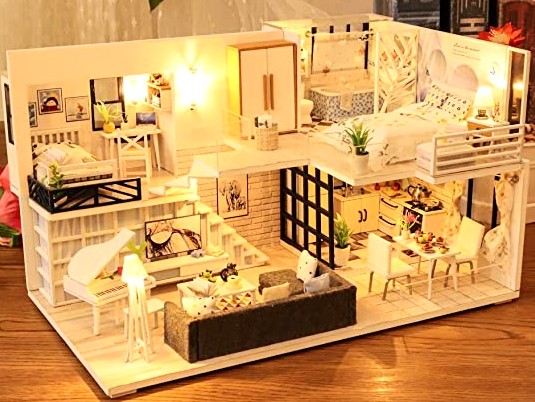
The decor on this was absolutely hideous. I can't even describe how awful the master bedroom wallpaper was. It had to go.
One thing to bear in mind about this one is that it is wider than the other three, so I had to get the one with the dust cover, as it had to go on the top of the display shelves. Otherwise Biscuit would have quickly done some "redecoration" of his own.
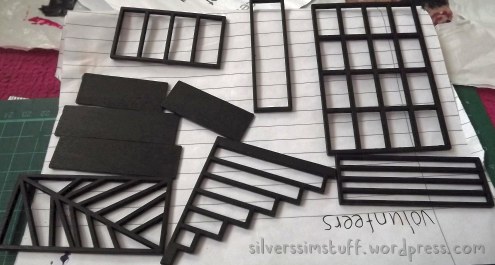
This one seemed to be from the same manufacturer as my first dollshouse (Elegant Times 2018?), but there has been an improvement. You actually get a sheet with all the pieces mapped out so you can easily see which piece is which.
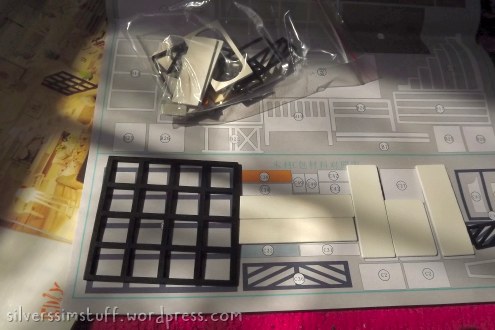
This was really helpful!
So on to customising. So I knew I wanted red and black for the master bedroom, and I had some space flatwrap that I'd saved specifically for a house with a second bedroom. As for the kitchen, living room and bathroom, I didn't have any particular plans. I knew I wanted to go for something darker for the living room anyway, and was still toying with extending the red down to the living room, so I went about painting all the panels and barriers black, plus the sides of the wardrobe:
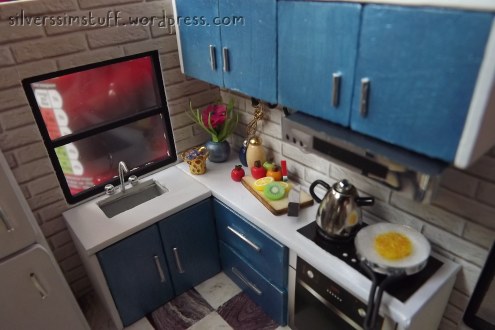
In the end, I decided that a metallic steel-blue colour might possibly look good for the kitchen, but I wasn't sure until I finished assembling the kitchen, and breathed a sigh of relief as I saw it actually looked quite good!
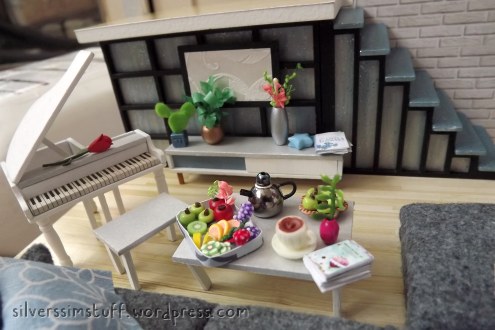
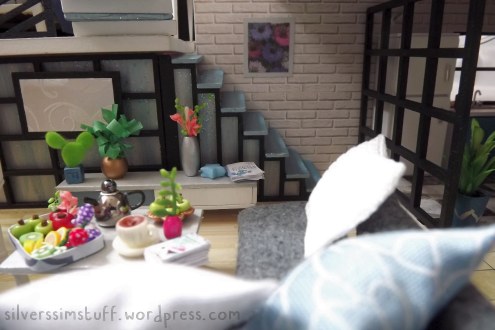
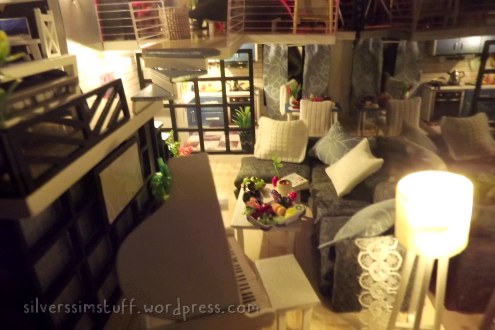
For the living room, the console table had one panel in steel blue, so I thought I would extend that to keep a grey/black/white/steel blue theme in the living room. I kept the wallpaper as it was inoffensive enough and went well with the rest of the theme. I went overboard with the stairs, though! I painted them with silver with a hint of cyan and blue to tint it, then coated with silver and cyan glitter mixed with diluted PVA. Yes it's very showy and maybe a little OTT, but I do like it. In hindsight, it might have been better to keep the spiral part of the stairs all white though, or possibly even navy or black to tie in with the first floor.
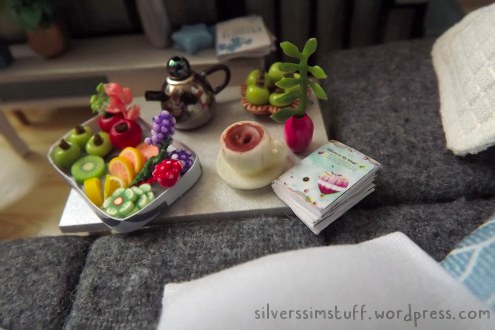
I still had some leftover bits from the previous 3 kits, so I made a little tray for the coffee table using some scrapbook paper, then filled it with fruit. I also popped some dark sienna paint into the teacup in an attempt to make it look more like tea or maybe hot chocolate. Mmmm, hot chocolate...
I added some silver accents to the console table, the piano and the piano stool. I also replaced the background panels under the stairs with card painted in silver and metallic steel blue. I used the duvet fabric from Blue Times to make the sofa cushions, plus the dining room curtains. I don't get why they gave such a huge sofa. I mean, seriously, it's massive! It's a behemoth compared to the sofas in the other kits!
For the kitchen, aside from repainting the doors, I also covered the counter tops with pearlescent white paper, plus I did the simpler style handles, as they always end up looking awful when I do the full handles.
The instructions for the sink were weird. From what I could tell there was no actual sink, just a acetate cover for it? So I made one out of the silver paper I used for the accents in the living room. I also changed what was hanging on the rack, making a whisk using the instructions from Blue Times. I also added a bit more fruit leftover from the previous kits, added a sweets jar and changed the direction of the fridge doors as it made more sense to open from the right. I went over the bead for the vase with blue metallic marker, replaced the meat cleaver with a knife, and added a few buttons to the extractor fan. Later, I also added a few things to the sink as it was looking really bare!
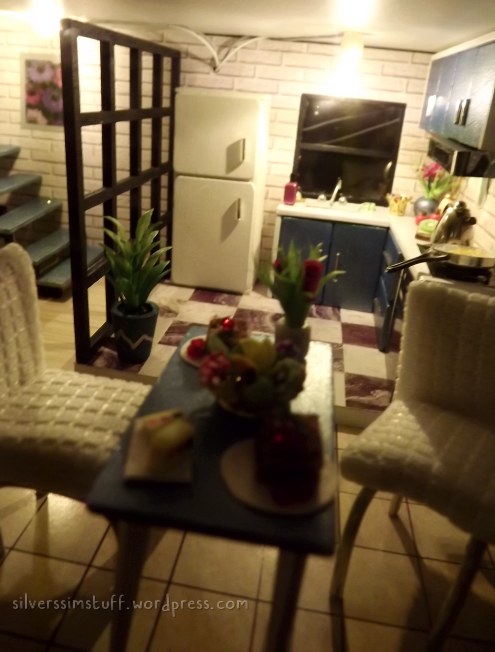
Here is the dining area. I had a bit of trouble with the chocolate slices. I thought the piece for it was missing, as it was in neither of the bags I expected it to be (I later found it in with the wooden pieces). So I had to colour some of the remnants of the egg felt (which it turned out I did actually need for something else -- whoops!) and use that instead. So it doesn't look so good. I also added some leftover slices of terrine from Tranquil Life, but they look rather insignificant next to those chocolate slices.

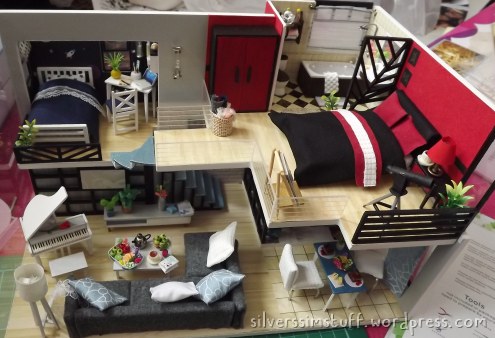
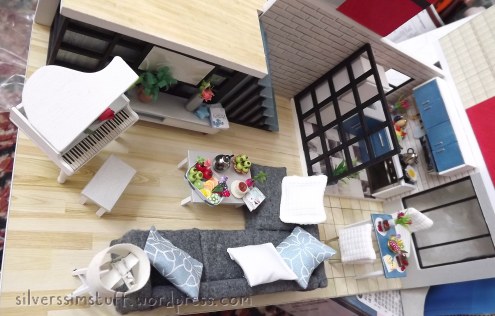
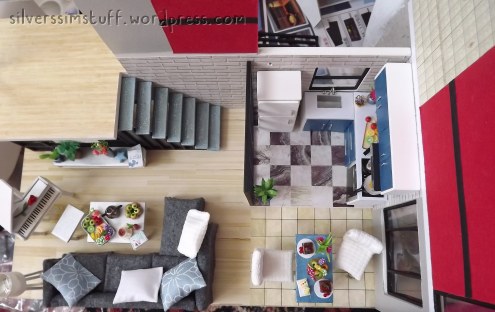
Here is the full ground floor:
Now on to the first floor. We'll start with the kid's room. One thing I changed was adding a blind to one window, using the fabric that was meant to be a cushion, I think. I also used the silver paper for the wall around the room, as well as in the dining area.
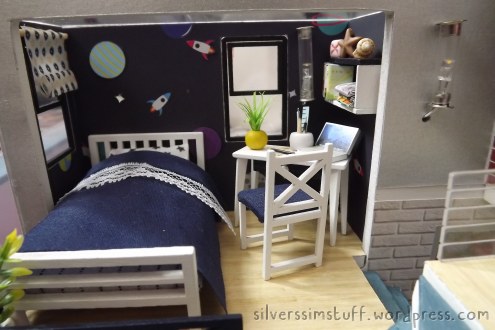

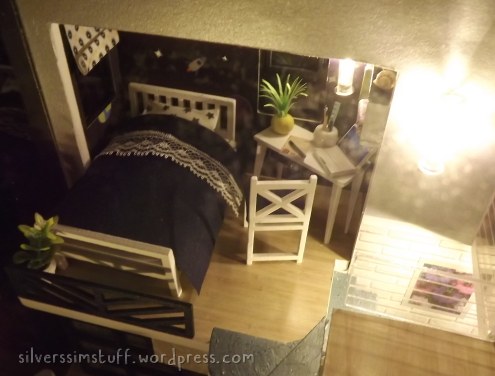
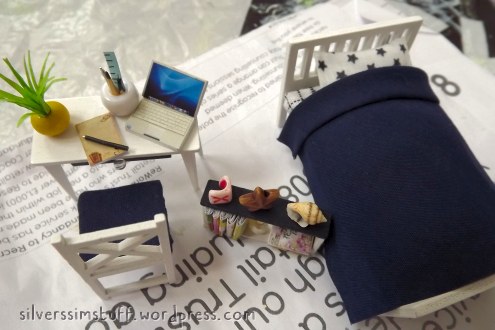
Since the wallpaper for the kid's room was navy, I upholstered the chair in navy, repainted the orange shelf panel in what was supposed to be navy, but ended up almost black, and replaced the ugly duvet fabric with solid navy. It was lucky that the kit gave stars fabric for the pillow! I tried to repaint the yellow bead for the vase in blue LIT, but it just came out so streaky and lumpy that I gave up.
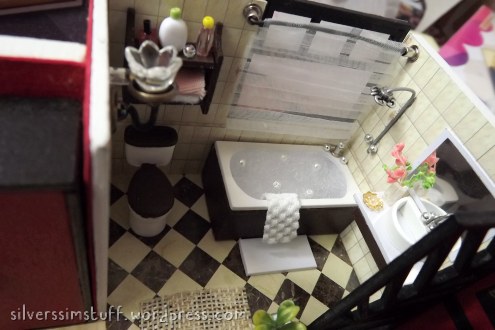
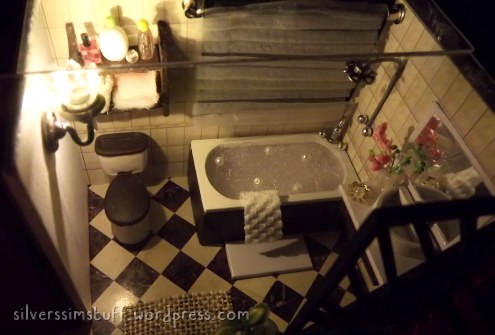
I couldn't come up with much inspiration for the bathroom, I didn't think that carrying the red and black of the master bedroom into the bathroom would work well. In the end, since the tiling was quite traditional, I went with that and did a dark wood theme. Wait, where have I seen that before..? I used the pearlescent white paper for the counter for the washbasin, and added a little soap dish.
They didn't give enough silver wire for the shower, so I used a silver Sharpie to colour some white wire, but that was a BIG mistake, for as soon as I applied the UHU and stuck it to the wall, the silver leaked into the glue and smeared onto the wall! It's not too noticeable, but learn from my mistake and keep UHU and Sharpies away from each other! One thing I really like about this kit is the bathtub instead of the shower. It's so much less fiddly, plus their technique for simulating bubble bath is really cute and effective. I also used some leftover net curtain from Blue Times to made a blind for this, as the one they gave was too granny. I changed the mirror as well.
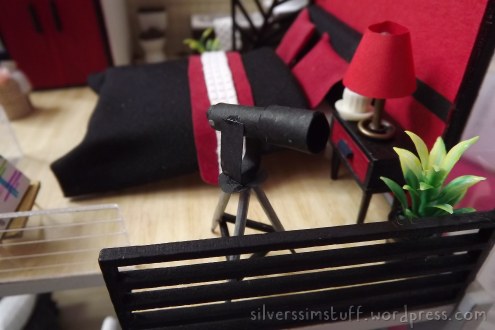
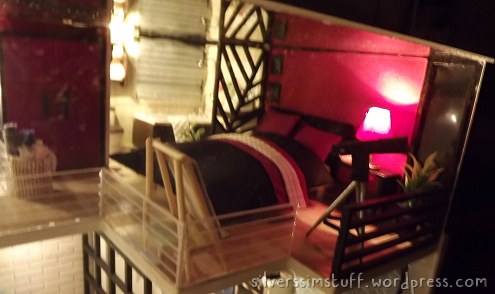
Now for the master bedroom! I was toying with the idea of printing something onto some red paper for the walls, but in the end, I used handmade crimson paper, with a single black stripe across the middle. The bead for the lamp looked ugly, so I used a cocktail stick coloured gold with a Sharpie (actually this one had no issues with the UHU). I repainted the wardrobe and nightstand in red and black, used the handmade paper for the lamp and completely changed the bedding. I had plenty of black polycotton, but no red fabric of any kind!
I tried painting red acrylic directly onto some fabric, but that was a disaster. So I mixed some red acrylic with water, and soaked white polycotton in that for a few hours. I then let it dry, but it was still too washed out. So I tried painting over the dyed fabric directly with red acrylic again, and this time it looked much better! Plus I got the advantage of it matching the furniture exactly!
I wanted this to be more "me", so I made a telescope using what I remembered from this video (why do I never reference things as I'm doing them?!). I made the tube too small, but I think it's okay, it's recognisable as a telescope anyway. I also improvised a mini easel using cocktail sticks again. It's quite lobsided, and my attempts at artwork on the canvas are highly questionable, but it's okay, I guess. Maybe to make it more me, I should have made a mini mini dollshouse! Also you can see I left out the ottoman/storage chest completely as it was a waste of space. I just put the teacup on the nightstand instead.
So there you go. And the most surprising thing is, I had this finished in 8 days! That's a new record for me (my average is 4-6 weeks!). I guess that's one of the many advantages of being in lockdown!