
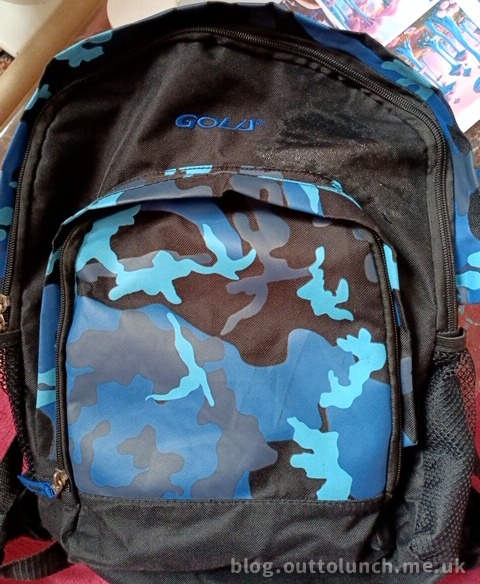
I've been having problems with the rain. More specifically, I've been having problems with my mudguards. They just don't work on my bike. As soon as the roads get wet, my backpack gets covered in mud and it takes ages to get out. I'm already on my third mudguard, and I've currently got a home-made contraption on the back. I decided I'd revamp an old backpack, because fabric paint by its very nature should be waterproof, right? So even if it got muddy, it would be easy to wipe clean. Right?
I was forgetting about the joy that is cerulean pigment.
I mentioned in a previous post about how to turn acrylic paint into fabric paint. I bought the Scola brand of fabric medium, which seems to be the only widely-available and affordable option here in the UK.
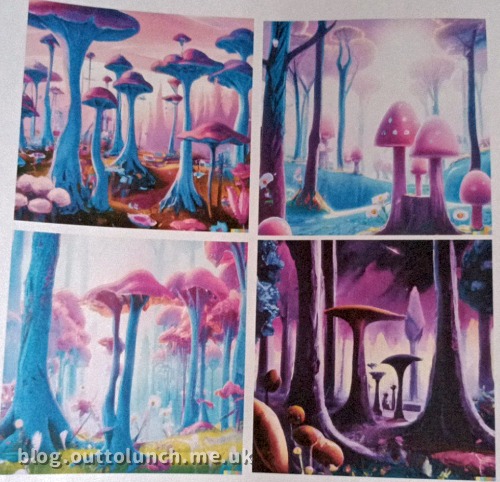
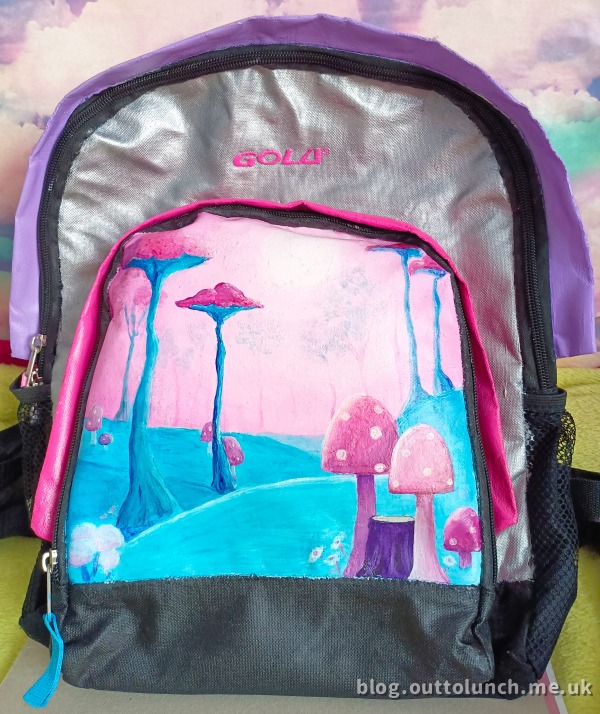
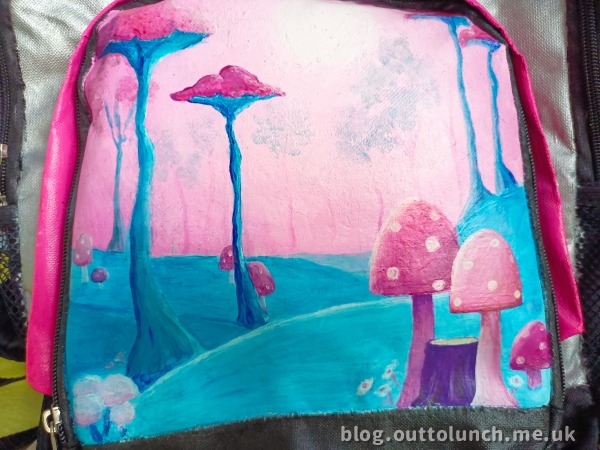
After thinking about it for a few days, I decided to paint an Altrisian scene using some Dall E generations as a reference. And Altris has a synthwave-ish colour palette ie lots of pinks and cyans.
Cerulean paint...
I optimistically thought that the fabric medium would miraculously help to bind the cerulean pigment and stabilise it.
I'm such a doofus. Anyway, I started by sanding the printed parts to help the paint to stick, then mixed up some white acrylic with the fabric medium.
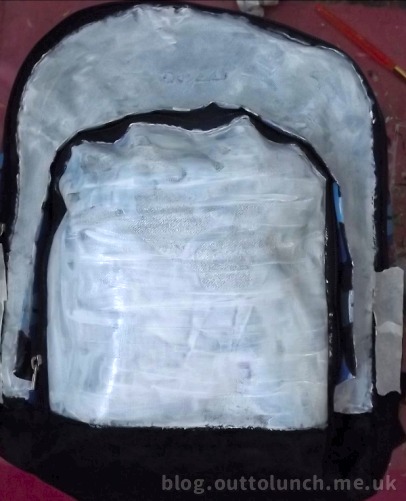
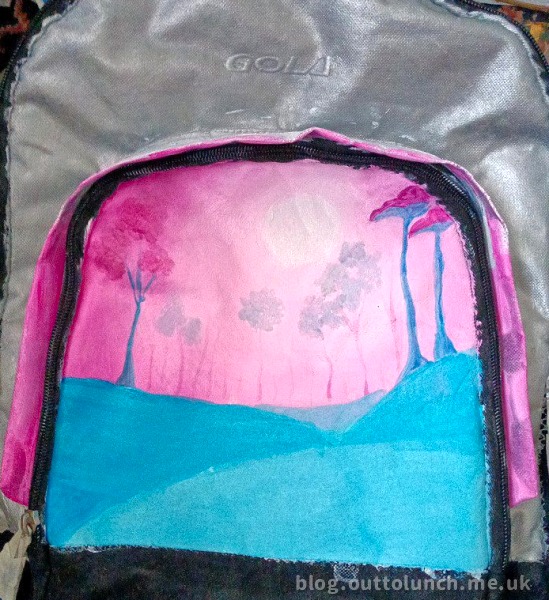
So far, so good. As to the actual picturey bit, I wasn't sure I could pull it off, but I gave it a darned good try. First I painted the upper panel black, but then realised since I'll be wearing when biking, it needs to be more visible, so I painted it silver. I sketched out a rough guide, but to be honest, it wasn't really worth the bother. I ended up mostly painting freehand in the end.
Then I started on the background elements.
And surprisingly enough, I actually managed to do it.

I wish I took more WIP photos, but I forgot. The whole project took me about three weeks, not including the time it took me to get a heatgun, because there was one thing I forgot to read on the instructions.
The paint needs to be heatset to fix it.
I thought it was just optional. Anyway, this is where it all went wrong. So first I used the iron on the front pocket as that part was easy to iron. You're meant to use a piece of paper over the paint, then iron on a low setting for five minutes. The first time I did it, it worked okay. The paint lost its tackiness. Great, I thought. It's sealed!
Then I noticed a load of dust on the actual painting.
I tried to remove what I could with a damp cotton bud. You can't see it so much here, but those two black specks are part of the contamination. I have to do all my art in my bedroom, so it's just full of microfibres from my clothes and dander from my pet bird.
There was just so much dust, and I couldn't get it off, but what I noticed was that five minutes of ironing wasn't making the paint wipe-resistant.

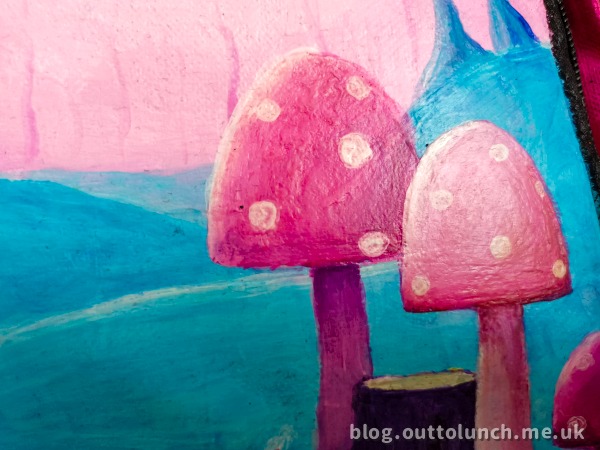
And the blue areas were the worst of all. I can't even tell you how much I'm starting to loathe cerulean paint. Why is it so unstable?!
Anyway, after cleaning off what I could of the dust, I tried adding several coats of straight fabric medium to act like a sealant and varnish. And as expected, the other colours were fine, but as soon as I tried to varnish the cerulean parts, they started to reactivate and smear. I had to use the lightest touch to keep the smearing as low as possible. It probably just added more dust but whatever. I was starting to get fed up with this project by this point.
I waited until everything was dry, and then tried to heat seal the picturey bit again. Only this time, the paper actually adhered to the painting! I was like, oh no oh no! I ran upstairs and used a damp sponge to wipe it and was luckily able to get the paper all off, but wow. Okay. I tried again using greasproof and this time it was okay.
Anyway, there was still the problem of how do I heatset the rest of the bag? So after a lot of searching, I found a heatgun that has variable temperatures. Only the frackin' manual doesn't tell you what number corresponds with what temperature. The manufacturer also doesn't give a damn about responding to my query, so I had to wing it. I put it on 2-6 and kept checking that it wasn't melting the bag.
Except I didn't check well enough.
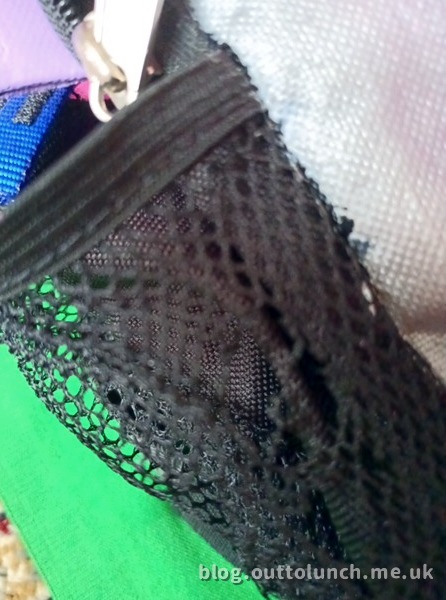
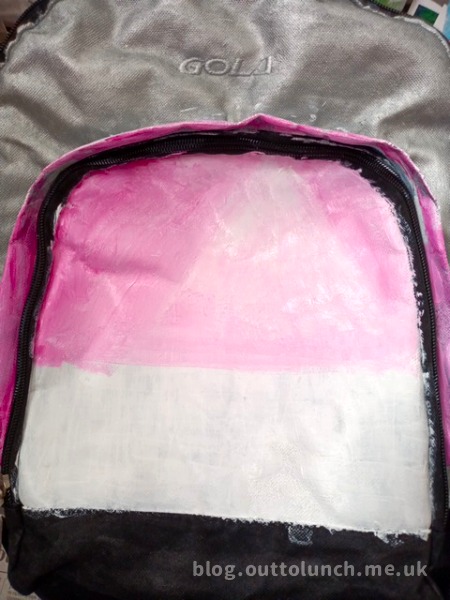
I melted a side pocket. Anyway, even after blasting it with the heatgun, the hot pink trim was still tacky (unlike the picturey bit that lost its tackiness after ironing), even though I had mixed matt medium into the paint. The top two trims (the pastel pink and lilac) were never tacky, and I wonder if that's because of the white acrylic mixed into it?
Anyway, now I know why people would rather spend more on specially made fabric paint than use this. I probably would have got better results if I used leather paint for this, but ££££££, yanno?
I bought a backpack cover in the end anyway.