
Since I'd run out of craft projects and had 3 canvasses gathering dust, I decided now was the time to try this out!

You will need:
- Acrylic paint, in 3-4 colours of your choice. Try to choose colours that will look good together. Sometimes you think colours go well together and then when you try it out, they don't. I learnt this from experience.
- Water. Distilled is best, but I used tap water and it was fine
- Small cups or bowls
- A blank pre-primed canvas. It might be a good idea to start with a small canvas the first time
- Glitter or gold leaf. Optional, but adds a nice touch.
- Stirring sticks
- Old newspaper, plastic sheeting or anything else to catch the mess. There probably will be a lot of mess
- Cocktail stick or toothpick, to help create feathering patterns. Optional
- Rubber gloves. Optional, but recommended
- Something sturdy to hold up your canvas while drying. I used my paint bottles
- A desk fan. Optional, but greatly speeds up drying time
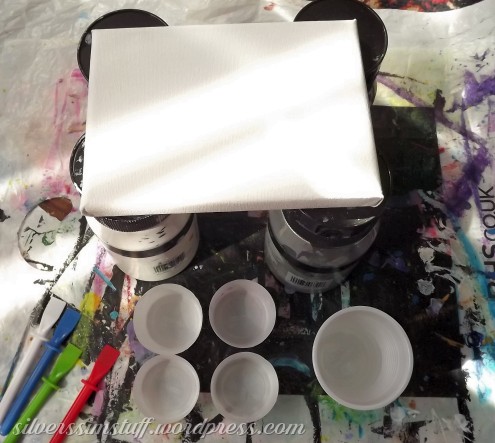
The amount of paint you'll need will depend on how big your canvas is. I just winged it, and mixed up more if I needed it. Once you've got your mix of colours, add each to a small cup, and add enough water to make it a pourable consistency. The rule is two parts paint to one part water. Again I just winged it until the consistency looked right. It will depend a lot on how runny your paint is to start with; there is a lot of difference between brands.
I also cut the cups down so I didn't have to spend ages scraping paint out (try to use cups without ridges/textures inside!).
Spread out your newspaper/plastic on your work surface, and get your sturdy objects in position to place the canvas on.
Now you get to choose your technique. I tried 3 different ones.
Pour No.1: Flip Cup
For this, you need one more paper cup. Pour each colour into the new cup, one at a time. Layer up the colours, so you have at least two layers for each colour. Don't mix, stir or shake.
Once you've got all your colours in, place the canvas face down over the cup, then flip the whole thing upside down. You can leave the cup on the canvas for a minute or so while or the paint drips down, or pull the cup up quickly, and then move the cup over the canvas to allow the rest of the paint to drip onto it. Tilt the canvas to get the paint to spread all over it and drip down the sides.
The sides of the canvas did need a bit of help, so I used the spatulas to help smear the paint over the sides.
Once your canvas is covered, you can use glitter or gold leaf to add a few highlights. I sprinkled a little gold glitter over the gold paint to add a touch of extra sparkle.
Then carefully balance your canvas on your sturdy object of choice while the paint dries. Be sure you protect your work surface as you'll probably get a lot of dripping. A desk fan will help this to dry much more quickly.
For this technique, I used violet, teal, white and gold. I think this one came out best.
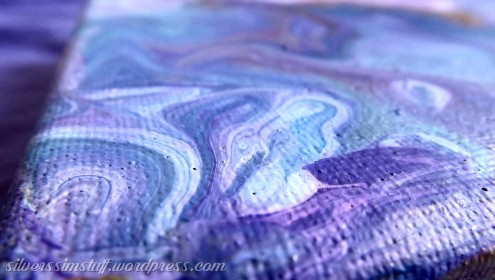
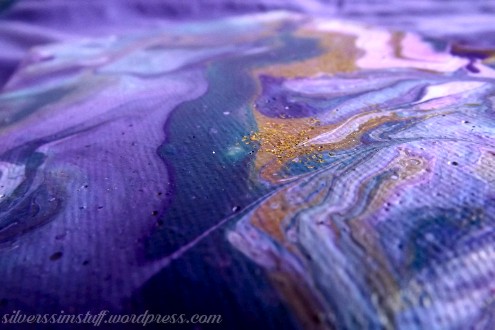
I did get a lot of air bubbles on this. It might be because I allowed it to dry naturally rather than with the fan, so the paint has seeped all the way through to the back of the canvas, and that might have encouraged the bubbles. I also didn't think it through, and balanced it on a single paint pot to dry, on the actual back of the canvas rather than on the wooden sides.
Pour No.2: Clean Pour
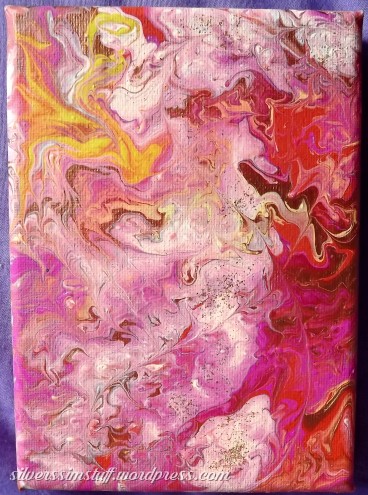
For this technique, once you've mixed up your paints, rather than layering them all together in one cup, you pour each colour directly onto the canvas, layering them directly as you go along, then tilting to spread the paints over the canvas.
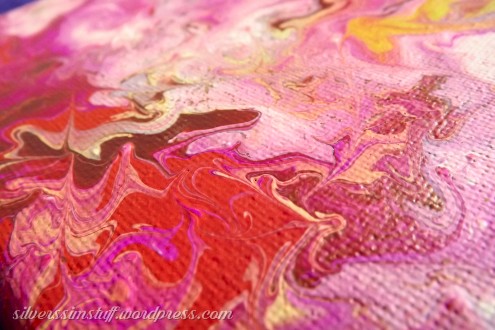
I think I got quite a nice effect from this. Honestly, I think the success of this depends so much on choosing the right colours. Spoiler: only my first effort produced colours that went well together, in my opinion. So while I like the actual patterns for this one, I just don't think the colours are nice. My white paint was also really lumpy. You can see the little pale yellow spots where the lumps were, so do try to make sure you stir any lumps out before pouring.
I was aiming for something like pastel sunset colours for this. Clearly I failed! I'm kind of getting used to it, though. I don't hate it as much as I did when I first made it.
Pour No.3: Dirty Pour
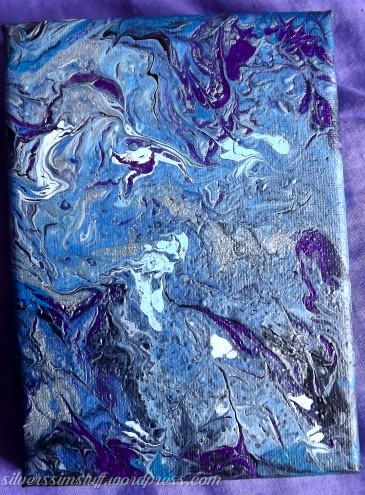
This is similar to the flip cup, but after you've layered the paints in the fifth cup, you simply pour it slowly all over the canvas, then tilt the canvas to spread it around.
I liked this one least of all. The way it turned out was so far from how I imagined it! I really thought I'd chosen a good combination of colours this time, but it's just awful! Clearly I need to go study colour theory again!
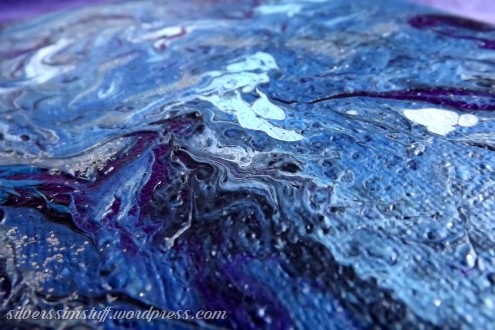
I might be able to save it by painting a moon or planet onto it. Right now it's just so awful.
So there you go! It's a nice, easy technique (as long as you don't suck at choosing colours), albeit rather messy. I'm thinking of trying this out with the kids, using primed cardboard instead of canvas, and seeing if their kiddy paint works. I'll keep you posted! Edit: yes, it does work with kids' paint!
Nice to see you here, Margy! It’s messy, but great fun. I’ve since tried this with cheap kids’ paints too, but they blend a little more readily. It worked well for bookmarks, calligraphy backgrounds and charms. That reminds me, I used this technique to decorate a paper-mache shelf once. I forgot to post it!
This is something I'd like to try. I'll bookmark this page for reference!