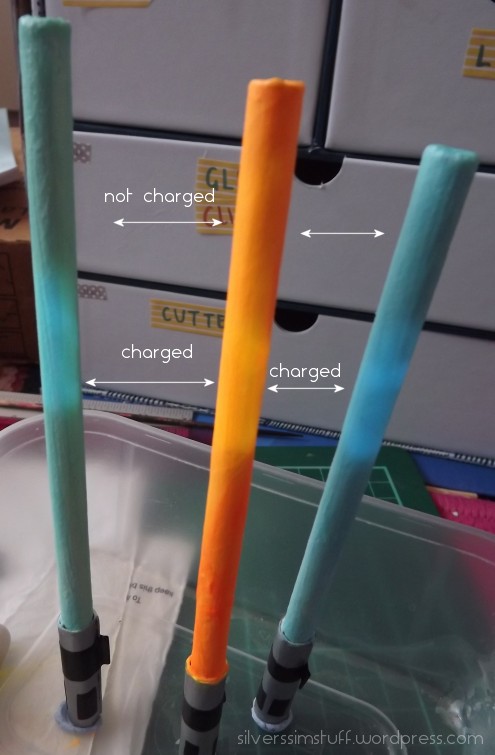
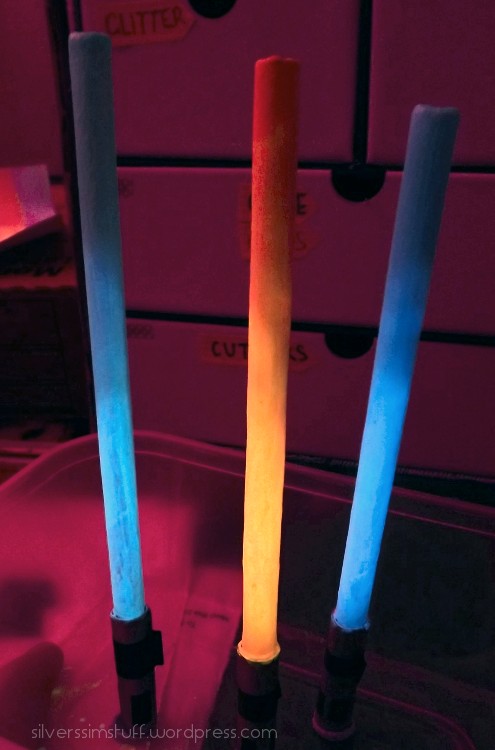
As I mentioned, the kids are really into Star Wars. I originally planned on making full-sized lightsabers, but then I realised, dang, that would be expensive. Plus the potential for actual casualties would be high, so I scaled things right down to dolly-sized.
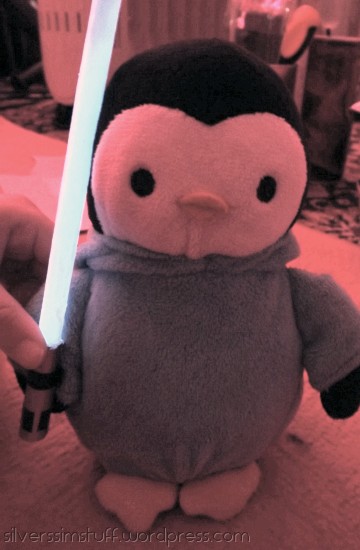
These lightsabers actually light up!
If you read this post, you'd know I now have the full complement of LIT paints. Now, LIT is expensive, so you can substitute this with any glow-in-the-dark paints you have, it just won't be as cool.
What you will need
- LIT+Super Base/clear acrylic medium, or any glow-in-the-dark paint, in whichever colours you like
- PVA glue diluted 1:1 with water (optional)
- White acrylic paint
- Wooden dowels, thick paper or bamboo straws, unsharpened pencils, or anything a similar shape and size. I used those thick card straw thingies that they put in shoes to keep them straight. I don't know what they're called
- Strong glue -- UHU Power is my new favourite
- White cardstock (130gsm or thereabouts)
- Silver acrylic paint (or use silver cardstock)
- Black permanent marker, or black electrical/vinyl tape
- UV light or sunlight
- Sealant, e.g. Plastikote, diluted PVA, clear nail varnish, clear craft varnish
Instructions
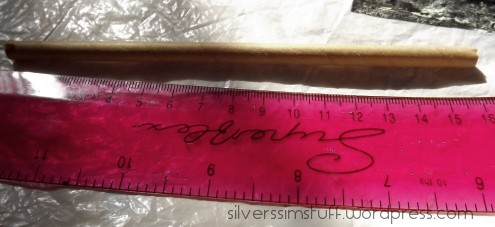
Cut your straws down to about 16cm. You can scale up if you want a larger sabre.
Apply a base coat or 2 of white acrylic paint. You could seal it first with diluted PVA to make it easier to paint, if you want.
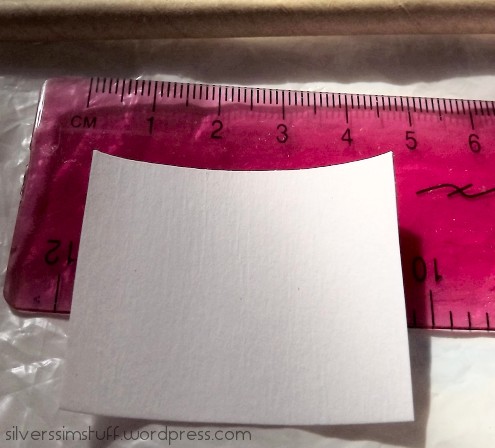
Measure out some cardstock to about 4.5cm high, plus about 5-6cm wide.
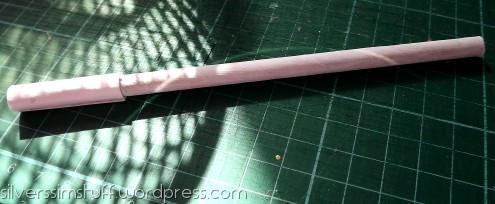
Glue down the edges of the cardstock, then wrap it around the straw, so that it covers the bottom 4.5cm of the straw. Go round about twice, then cut down, and glue firmly.
Paint the card part silver, then leave to dry. Once dry, mix up your LIT paints. I used pink+yellow to make the orange one, blue+original to make the turquoise one, and straight blue for the blue one, with the tiniest drop of blue acrylic to give it a blue hue (blue and green LIT doesn't have any colour when not glowing). I needed three coats in total. I used LIT + water + SuperBase for the first two, then I used Tulip Glow paints with the LIT powders mixed in directly without water for the last coat. LIT does get very grainy and crumbly when dry, and I find that the Tulip paint gives a smoother finish than the SuperBase. Leave to dry thoroughly.
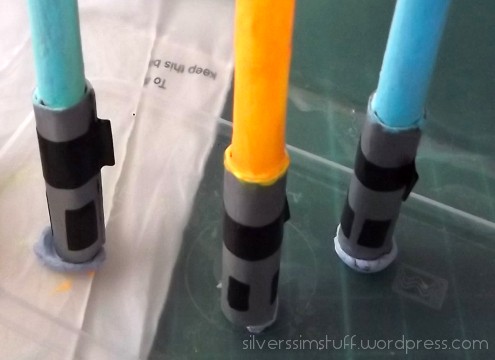
Add the details to the handle. You can use markers to draw on four small rectangles near the bottom, then a wider band of black higher up. I found electrical/vinyl tape gives a neater finish, plus you can sort of simulate the button (?) by folding the tape over. Make sure to do the join at the bottom, where you cut the cardstock.
Finish off by sealing. SuperBase goes really crumbly and will rub off whenever it touches anything, so you definitely need a clearcoat on top. I sprayed it with 3 coats of satin-finish Plastikote. Be sure it's thoroughly dry and that the fumes have gone before giving it to a kid to play with, and obviously don't give these to a kid that will put it in their mouth.
There you go, DIY lightsabers that actually glow! The original green LIT will give the best glow, as it's the easiest to charge and the afterglow lasts longest. The other colours work best with sunlight or a UV torch. You can leave them on a sunny windowsill for 10 minutes for the best effect. These do also glow in daylight as long as it's not too sunny, the inital glow can last about 10 minutes. Have fun playing with your mini lightsabers!