
(I've merged several posts, because I'm sick of this dumb project. I should have made it in 1:24 scale or smaller. Seriously, I overcomplicated this project so much, what a 鈍臭い)
I've mentioned before how much I want a dolls' house. Not a toy one — I do have one of those, although don't ask how that came to be — but a proper collector's one. And though I could afford to buy one, having more money than sense, I can't justify spending £1000s on one (have you seen how much the furniture costs?), especially when you can make a real-life house for £150.
In any case, I still want one. I've actually been planning on making a paper mache tower for YEARS now. There are long panels of cardboard festering away behind my wardrobe, for seriously. But I never did get round to it. So a few weeks ago, I felt like I wanted to get on with it, so I looked up paper mache dolls' houses online to see if anyone else had done it. And I came across only one site that mentions it, and that's lolasminihomes. Looking at that, I learnt some tricks to making my dolls' tower, only now I am more ambitious. Why make a tower when you can make a restaurant? Heck, why make a teeny-tiny restaurant when you can make a BIG restaurant with LIVING QUARTERS above? You see, I never do things by halves — and then set myself up for disappointment, because I always get bored halfway through and give it up. So how far do you reckon I'll get into this project before I get bored?
The other problem with doing such a big building is WHERE THE HECK AM I GOING TO PUT IT? My room is already jam-packed and it doesn't help that I have to share it with my two idiots -- I'm talking about my birds.
Birds who will also mess all over my dolls' house, meaning even if I do find space for it in my room, it will have to stay covered all the time just to not resemble the bottom of their cage (seriously, they can projectile poo, it's crazy).
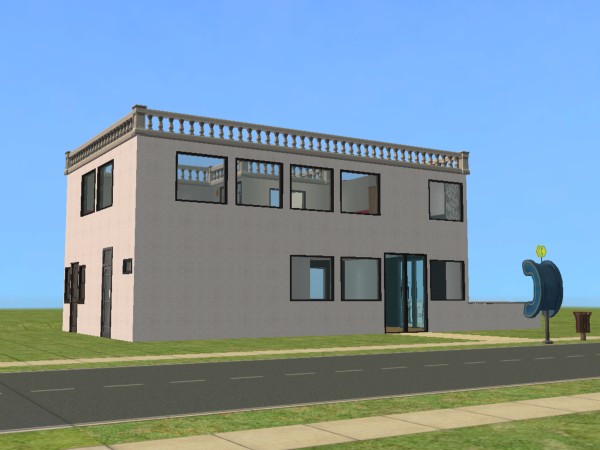
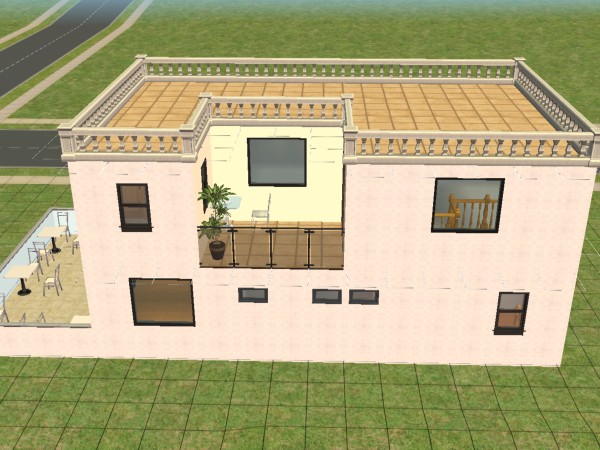
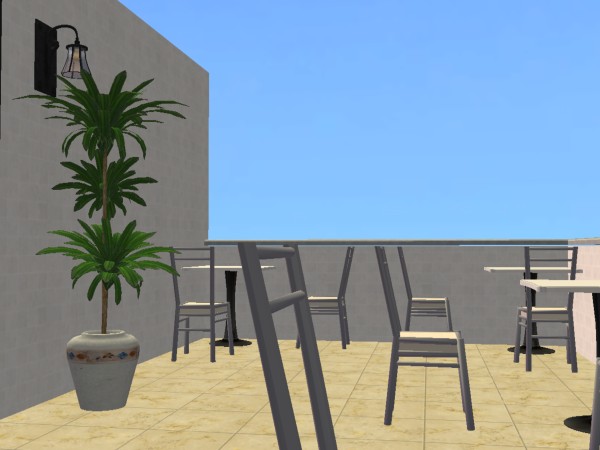
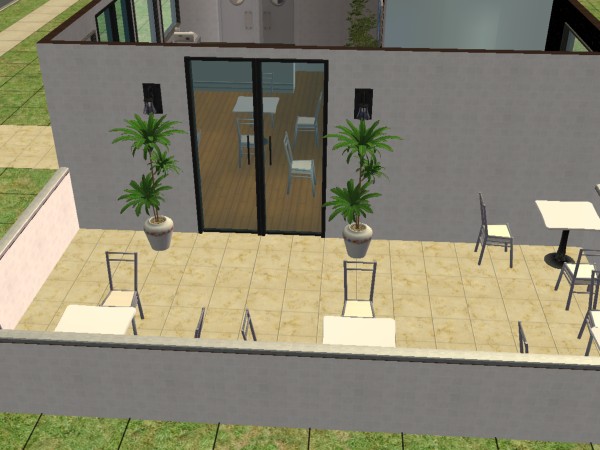
Anyway, just to bring this whole blog back on topic, I used Sims 2 to plan out a basic design, so here it is:
Front view:
Back view:
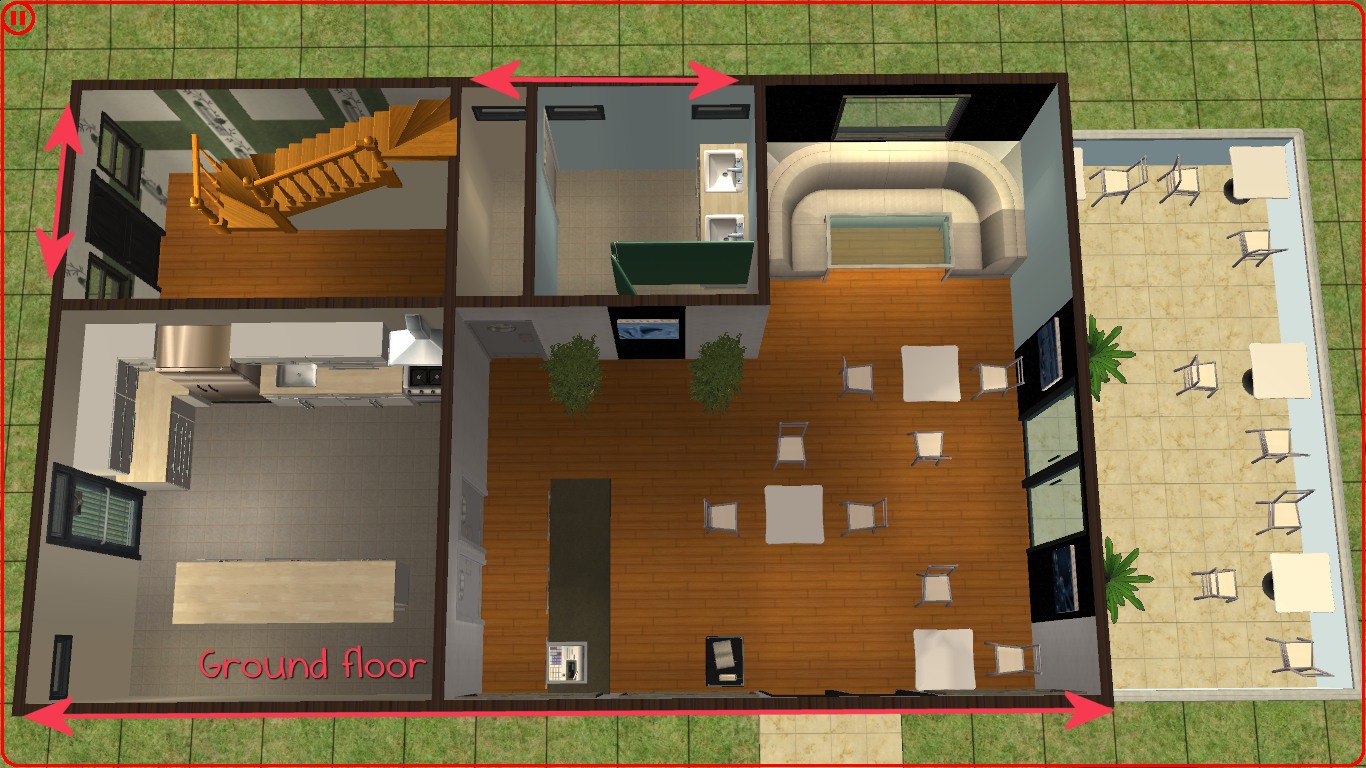
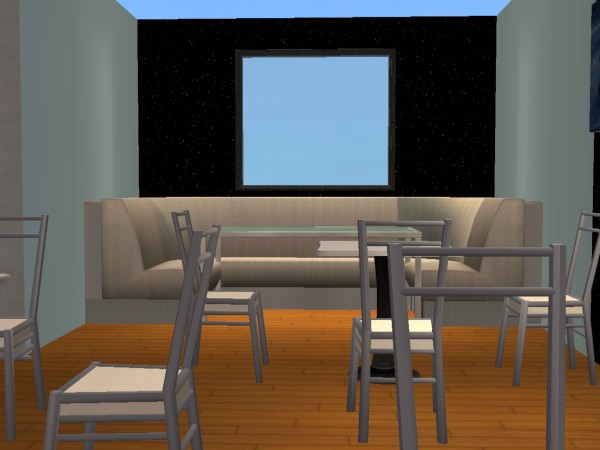
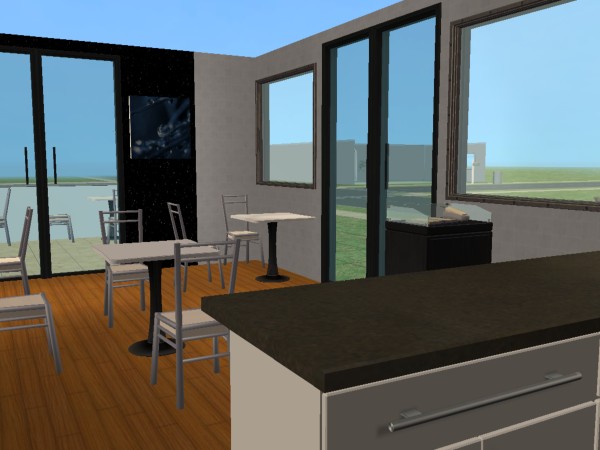
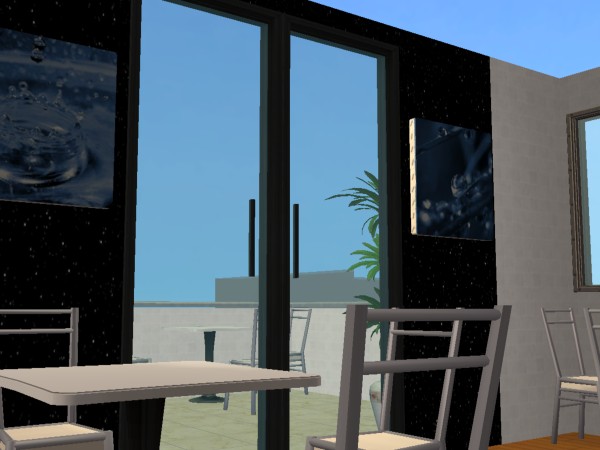
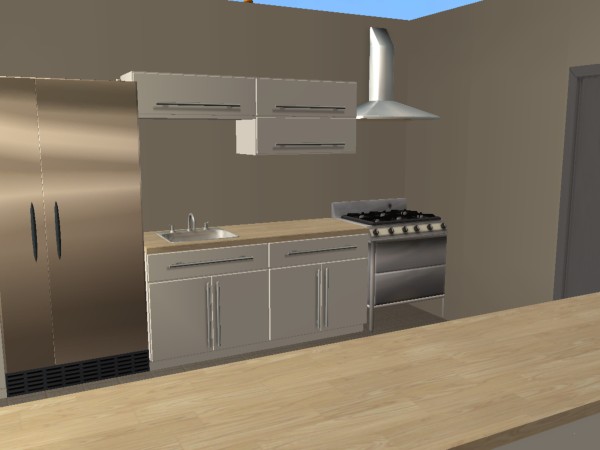
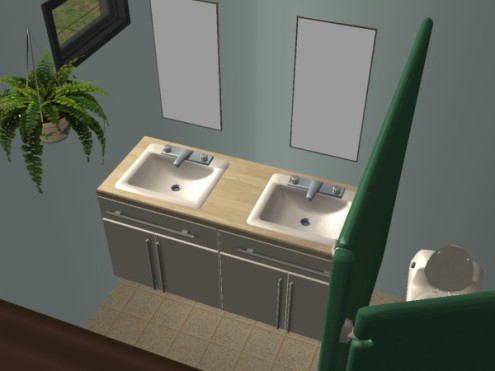
Moving up to the first floor:
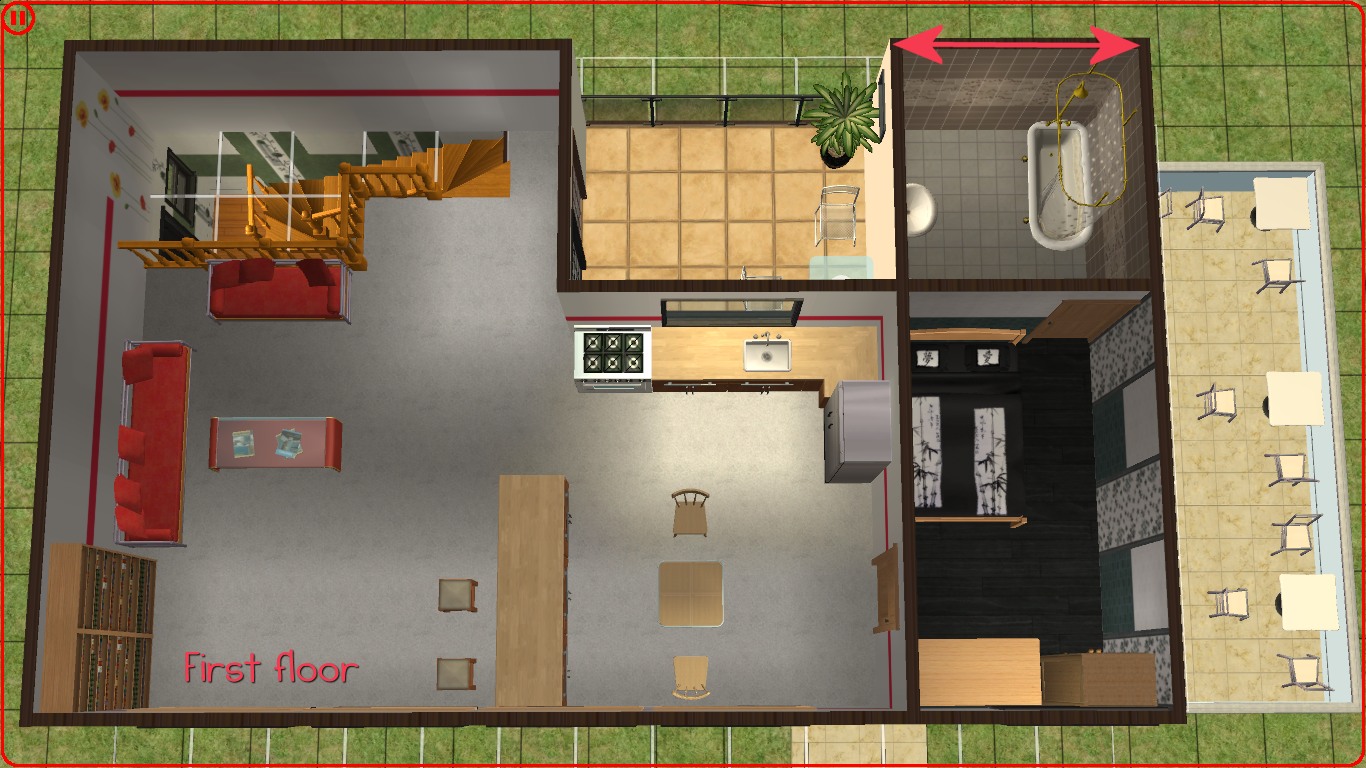
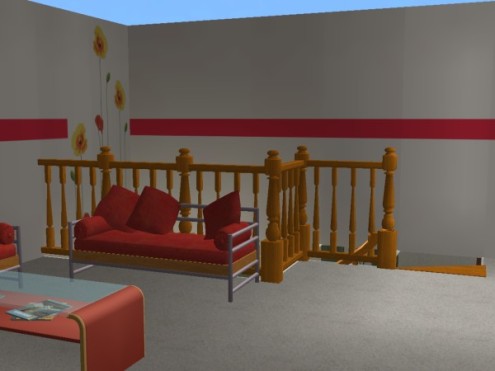
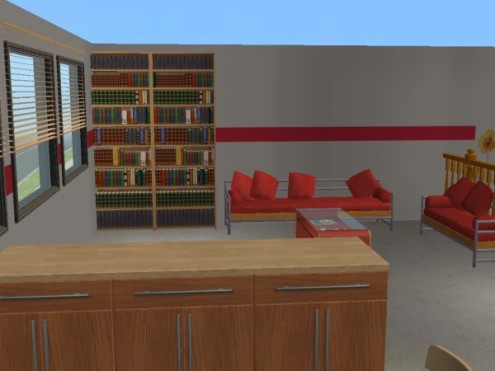
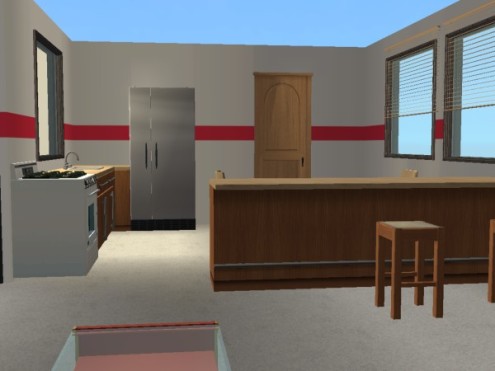
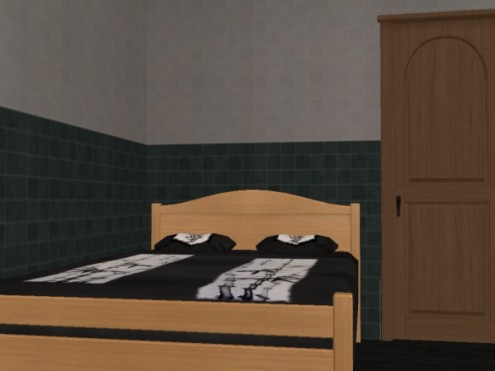
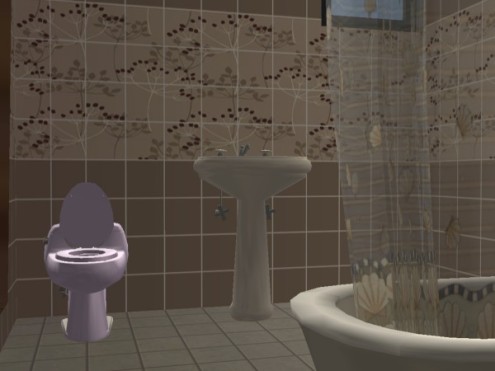
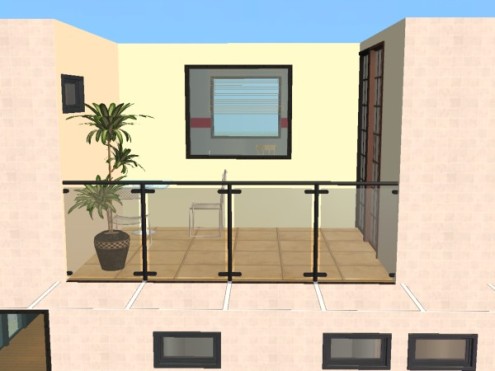
Okay so in theory it should look something like that. However translating it to a cardboard 1:12 scale construction isn't QUITE so straightforward. Having said that, even though I've had to make a few tweaks even at this early stage, it's still on track:
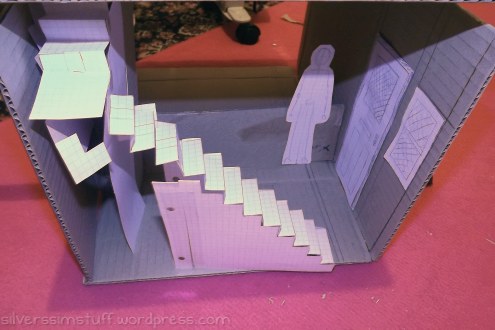
The card under the stairs is just for support during the design stage. As soon as it's paper mache'd it's going to be removed. Also as you can see, I only had space for one window next to the front door 🙁
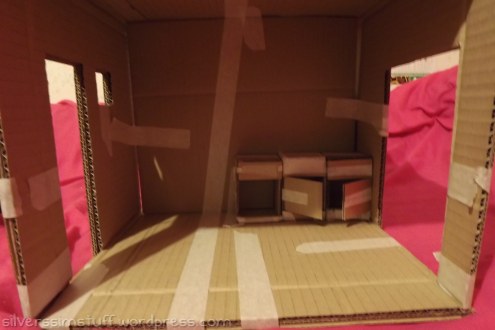
Restaurant kitchen:
Paper Mache Dolls' Restaurant Update 27/04/2015
Okay, I was meant to make regular updates on this, but somehow never got round to switching on the computer. Why? Because I was either cutting cardboard, getting tangled in masking tape, or stuck doing endless paper macheing. So you now get the whole thing so far in one sitting.
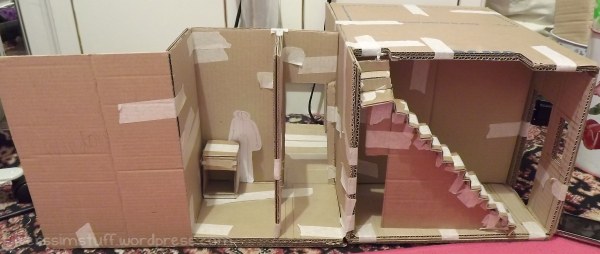
So at the last update, we only had the kitchen and the entryway for the residential area. Now I have a whole ground floor. So this is the back view. I've got most of the walls done and something of a staircase.
You can see the spot I managed to find for the house is the corner next to the dustbin.
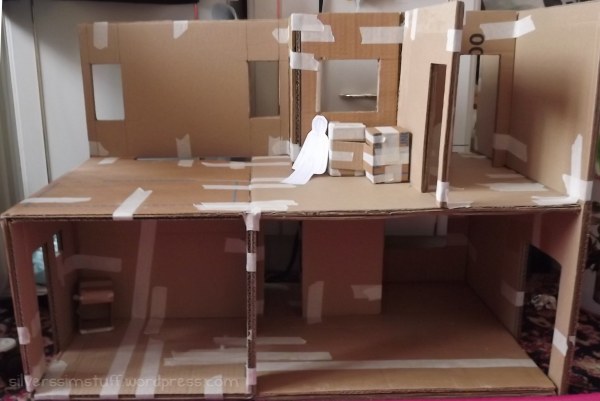
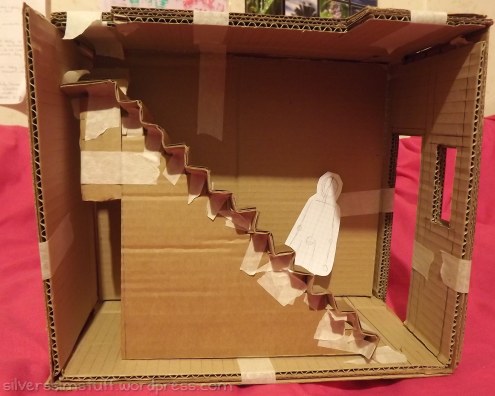
This is the partial construction then of the first floor. That's the restaurant kitchen on the left.
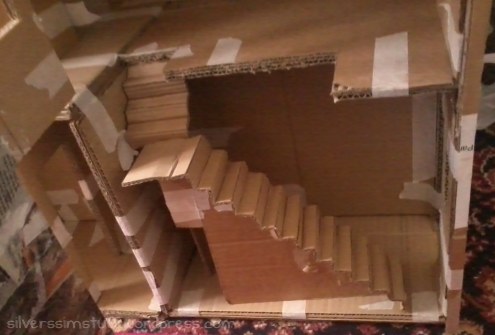
The staircase, which was later scrapped on account of, in real terms, it would be equivalent to a staircase with a width of only 48cm. I remade the staircase later with a width of 6cm, equivalent to 72cm in real terms.
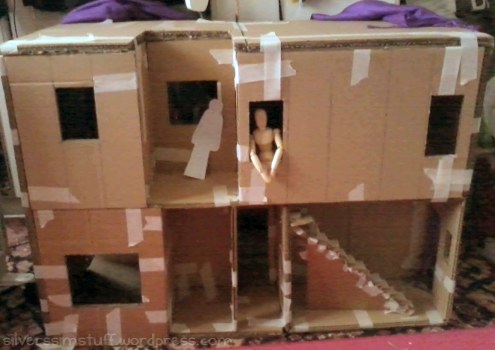
Starting with the outside removable panels. That's Raven in the window. During the photoshoot, his wrist got dislocated. When I say dislocated, I mean it fell off, along with his lower left arm. So the next 15 minutes+ was spent on reconstructive surgery. Note: be sure to regularly tighten screws.
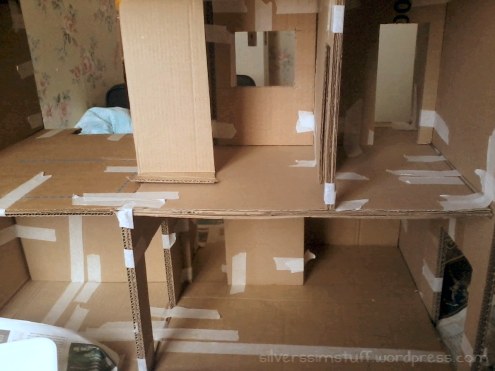
So getting ready for the paper mache phase. Future reference: be really careful making the corner joins smooth. Really.
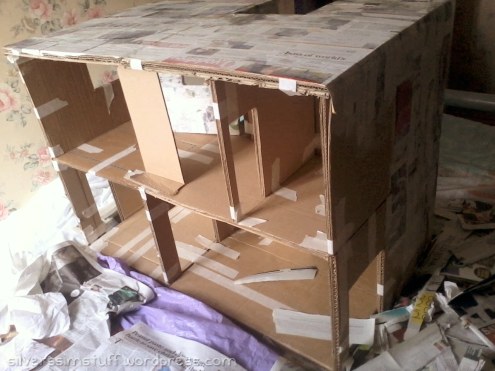
I used the flour-based paste for this. Just any old value brand plain white flour. The best proportions I've found are just 1 cup flour to 1 cup water, and also a generous helping of plain old PVA glue. For the first few layers, I made it too runny, and that was probably why it was so weak. Also, PROTIP: use an immersion blender to mix it up. I learnt that from Jonni from ultimatepapermache.com and it's a VERY good idea.
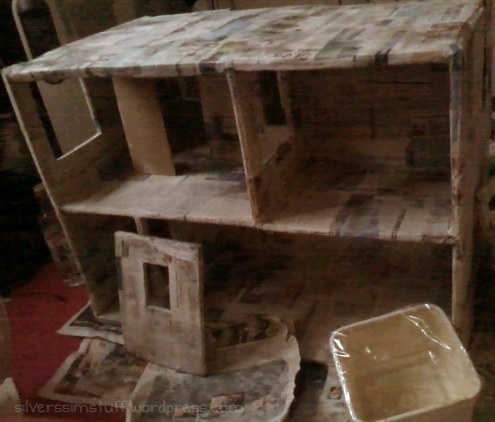
What I've learnt from this is: use really thick cardboard for the ceilings (see below), and use FOUR layers of cardboard.
I went for the potassium sorbate anyway, because why risk not? So for every 1 cup (250ml) of water, I added 1⁄8 tsp of citric acid and 1⁄8 tsp potassium sorbate. Mix them into the water first, then add to the flour. I also added a liberal sprinkling (maybe about ½ to 1 tsp) of ground cinnamon. [Eidit: I think actually making it acidic was a bad idea?]
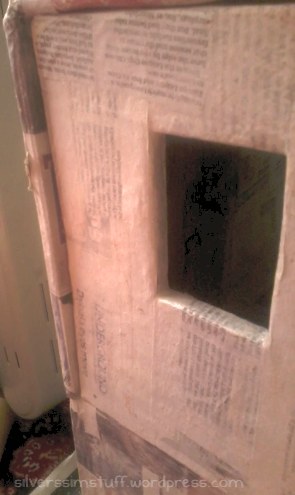
Okay, my removable walls don't fit.
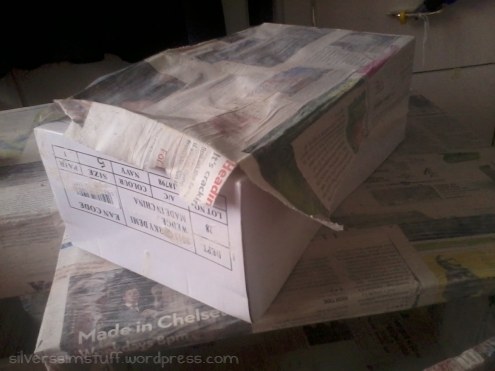
Also, paper mache doesn't stick to non-porous surfaces. So I'm confused about a tip I read saying to coat cardboard in plastic to stop it from warping. Because it won't adhere. Unless it does work if you go all the way round. Dunno.
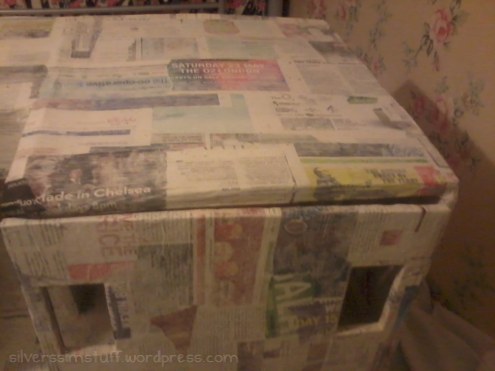
Oh no, this removable panel also doesn't fit (truth be told, that one gave me trouble right from the very beginning).
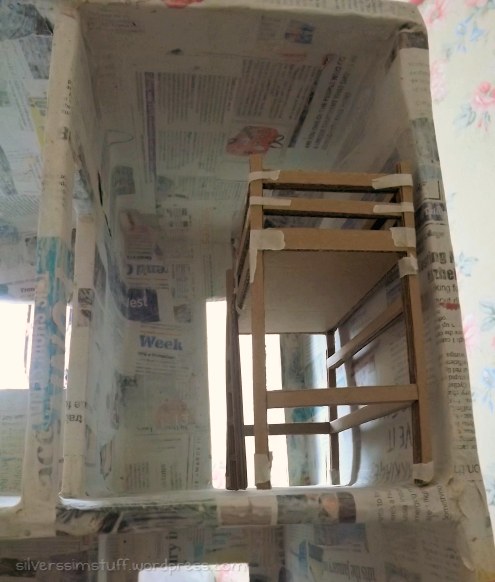
Four layers of paper mache done. While I was waiting for my order of PVA to arrive, I worked on some furniture. I made a loft bed rather than a regular one, so there would be space for a desk or chest underneath. Moving the bed to the right side of the room also frees up space for a wardrobe on the left side.
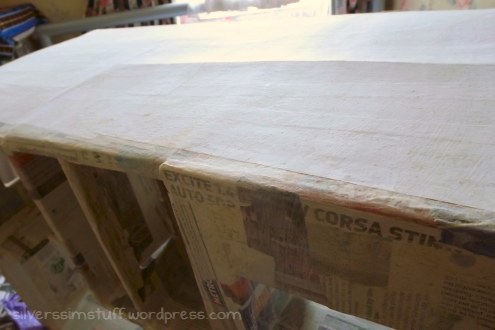
So for my last layer of paper mache, I have used some old printouts from work, so the white base will be easier to paint. This is actually the bottom side of the base. I was meant to use just PVA and water for the last layer, but I had some flour paste left over so I just used that up. The rest of the last layer will have to wait till next weekend.
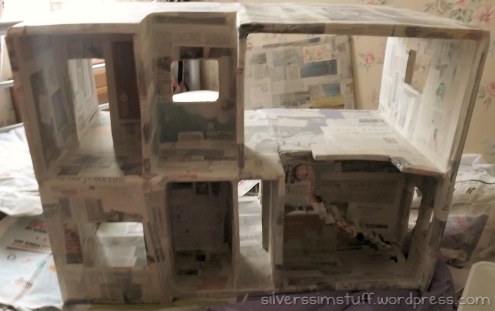
So this is what I have so far. This is the back view. The stairs will look better once pasted into place. I'm surprised at how well they actually held their shape.
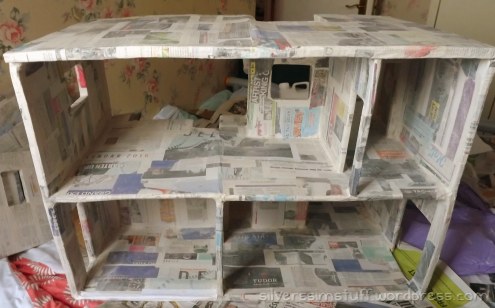
This is the front view (I haven't even STARTED the front removable walls yet).
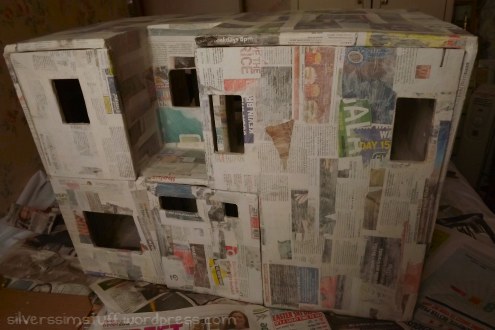
Back with the panels in place.
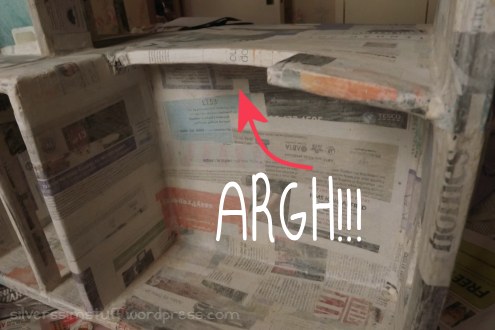
As you can see, a lot of warping went on. Which is why I know now that at least four layers of really chunky cardboard need to be used.
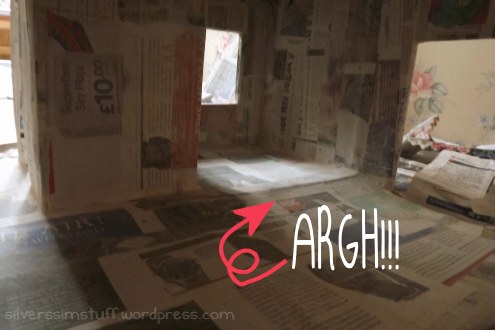
More warping on the restaurant dining area. It's REALLY bad and I've no idea how to fix it 🙁
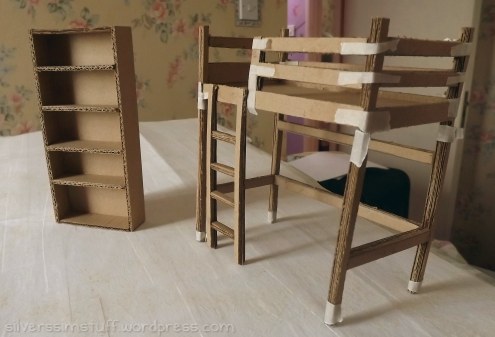
Furniture so far. Unfortunately, it's probably going to warp like anything once it's paper mached 🙁
Well, that's what I have so far. If you have any tips on how I can fix/avoid warping, or any suggestions or feedback, please leave a comment.
Dolls' Restaurant Update 03/05/15
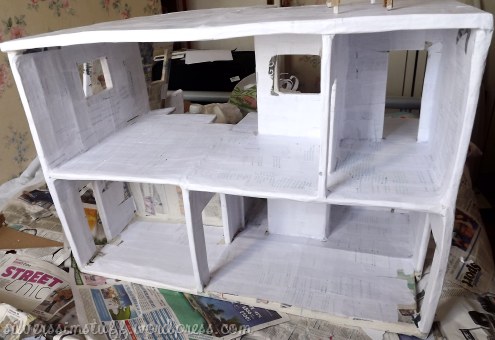
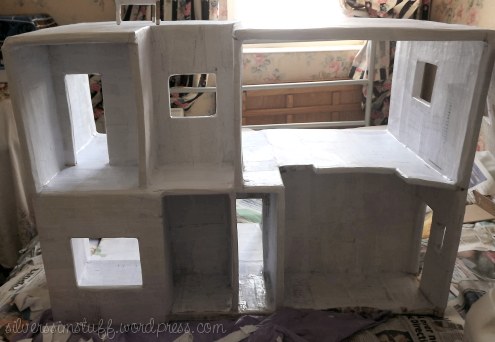
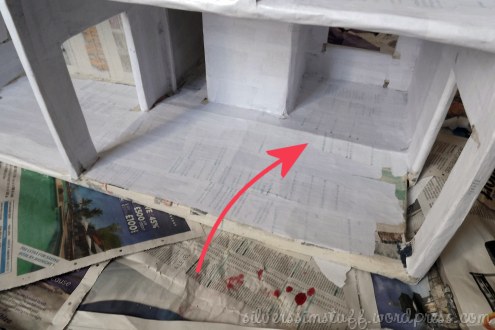
The warping looks worse than ever. I'm not sure what to do about it. The only thing I can think of is to hammer it down, then redo the paper mache 🙁
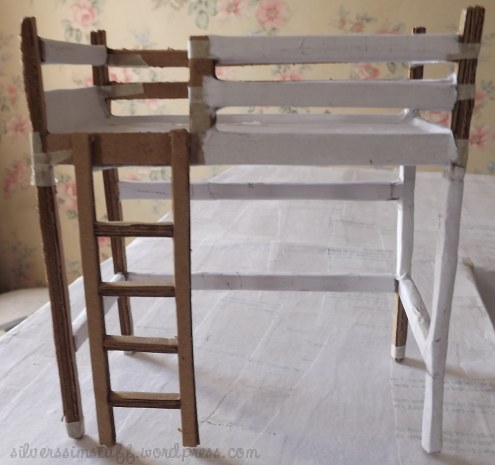
Started paper macheing the bed.
Dolls' House Update 22/06/15
So what I did was give the whole thing 2-3 coats of white emulsion, which my parents just happened to have lying about.
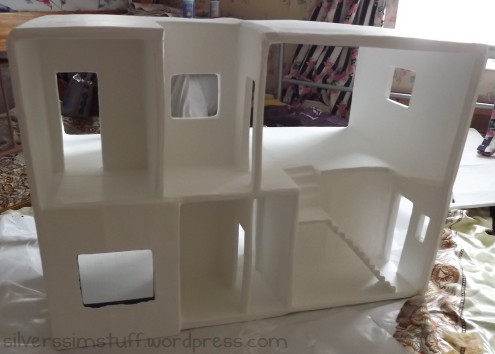
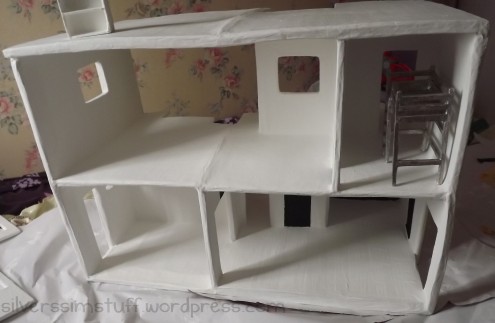
And I started painting what was meant to be charcoal panels, but somehow still ended up black.
Just to remind you what it should have looked like:
And what it actually looked like:
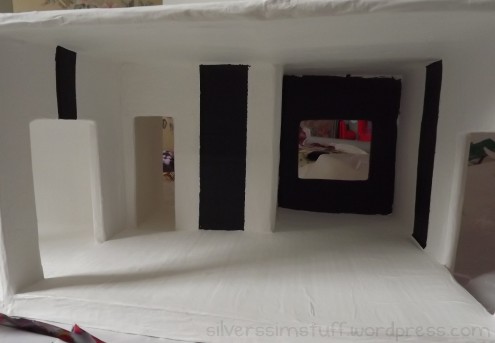
Okay, so even after I touched it up, it was time for the painting stage's obligatory problems.
To obtain the glitter effect, I used Stickles Diamond on the "charcoal" parts, only it looks very different on paint from how it does in the bottle, ie, RED. So I had to repaint over the "charcoal" (let's just call it black), and this time I used the teal and purple glitters, mixed with some leftover diluted PVA from Cal's bed. This looked a LOT better. So that's that, I thought. Almost finished! Now it's time to varnish and this stage is clear!
Only... water-based varnish doesn't work so well on emulsion paint. I know this because I tried. Apparently, it's more suited to acrylic paint, since acrylic and polyurethane are both plastic. So I've had to buy 6 tubes of white acrylic (which I've already used up and I still have more painting to go) and paint over all the emulsion with another 2 coats, because it's only cheap Wilko acrylic paint, so the coverage isn't all good. Also, this masking tape isn't up to much, and I do need to be sure that all the emulsion is covered, so...
(Note the house is currently upside down.)
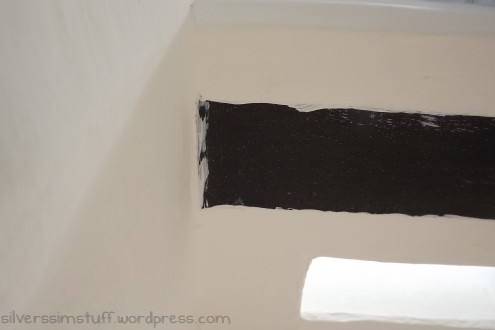
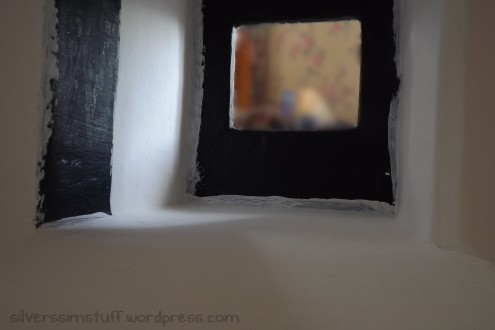
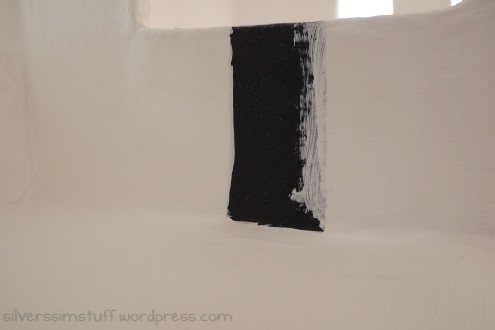
So YAY! Paint job no.3 is due to commence as soon as I've got more acrylic to finish re-coating the emulsion! And then another coat of glitter! I swear, every stage of this project has had something go wrong, but you know what? I'm not gonna complain, since it IS still on track.
Okay, so that's where it's up to now. Next step: buy truckloads more acrylic paint and learn how to mix charcoal.